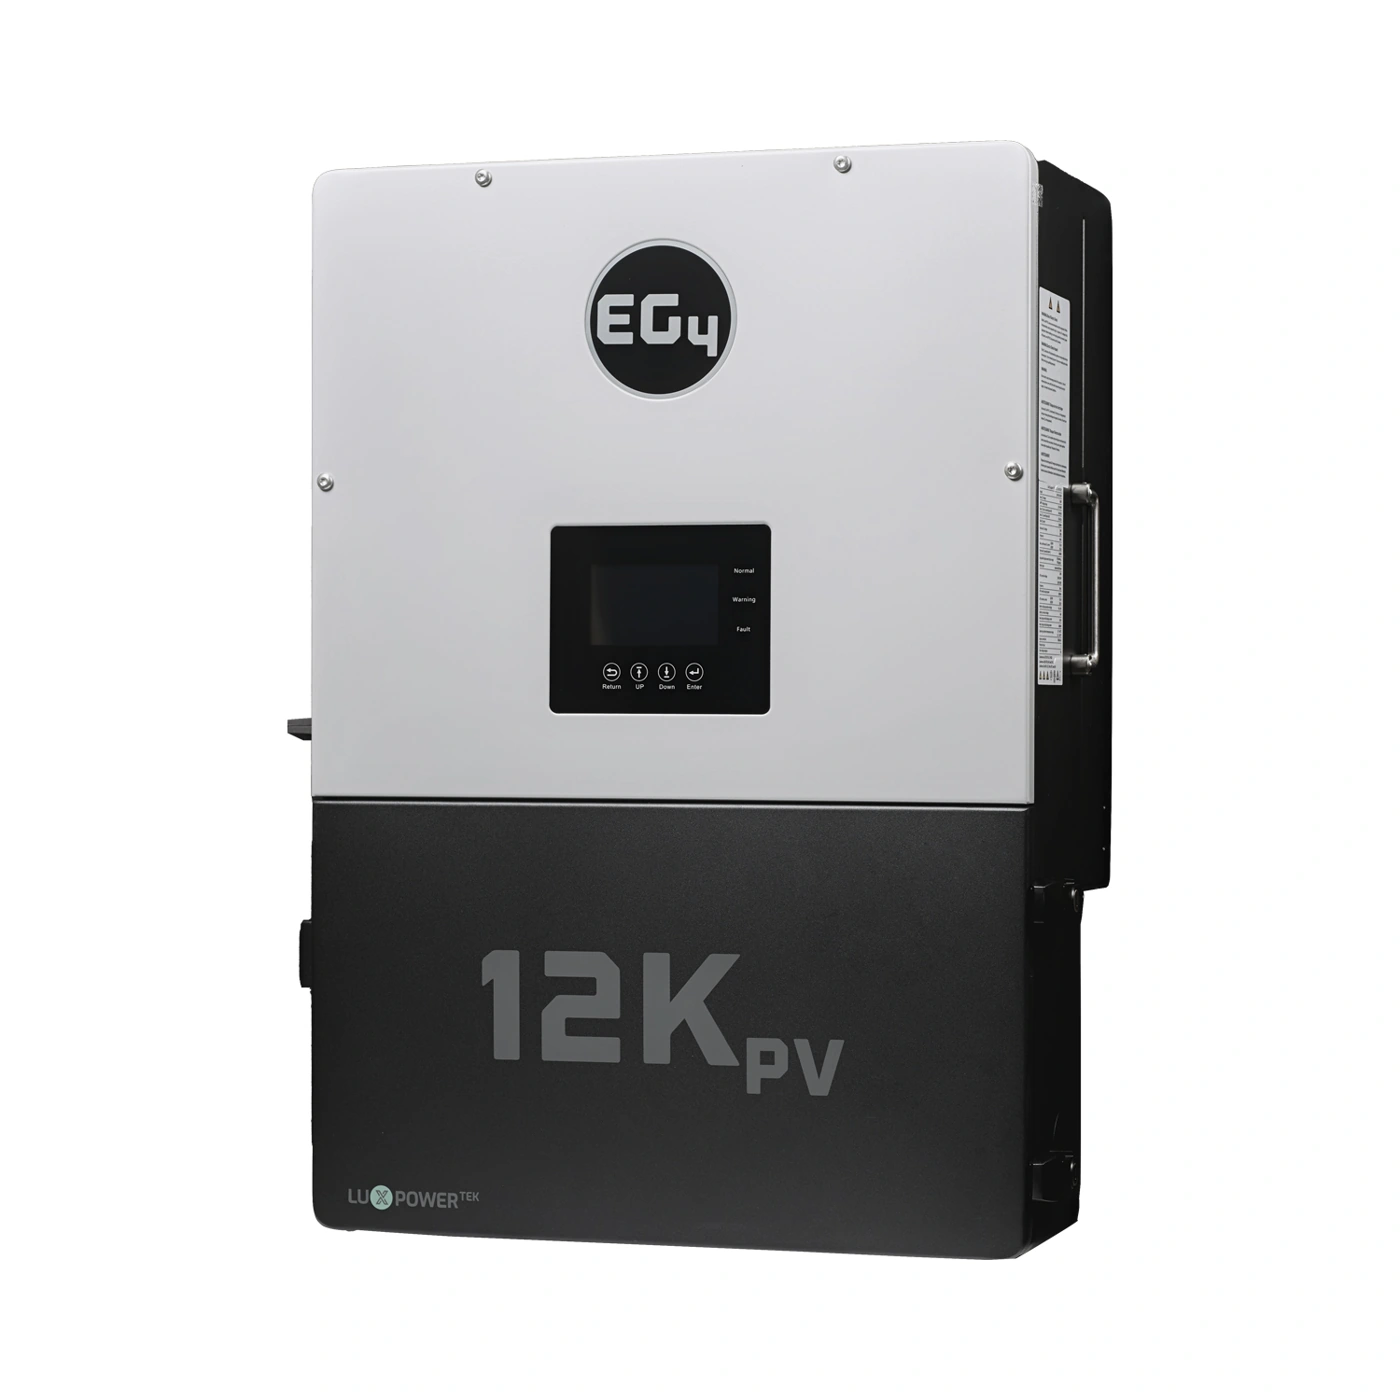
I like the EG4 12kPV because it brings several jobs into one box: solar conversion, battery charging, split-phase power, grid interaction, monitoring, and generator compatibility. That makes the system cleaner to plan. It also means the first day matters. A good inverter can still be frustrating if it is asked to run the whole house before its battery, settings, and readings have been checked.
My preference is to commission the 12kPV in stages. That gives you a calm handoff instead of a dramatic moment where every breaker is closed and everyone hopes the system understands the plan.
Start with the system you actually ordered
The current EG4 product page identifies this unit as the EG4 12kPV All-In-One Hybrid Inverter, model family IV-8000-HYB-AW, with SKU EG4INV12KPV00V2. It is a 48-volt split-phase inverter with up to 12 kilowatts of photovoltaic input and 8 kilowatts of continuous AC output.
Those numbers are useful because they explain the system’s job. A 12-kilowatt solar input does not mean the inverter sends 12 kilowatts to the house. The 12kPV can use solar power for the loads and direct the remainder toward battery charging, while its listed continuous AC output remains 8 kilowatts.
Before power-up, I want the actual inverter label, battery model, battery communication method, PV string plan, and utility or generator connection to agree with the project documents. The 12kPV can work with lithium or lead-acid batteries, but the settings are not interchangeable. Battery compatibility and communication should be settled before anyone starts changing menu values.
Bring it online without making the house part of the test
EG4’s quick-start guide describes a startup sequence that keeps the load breaker open while commissioning is finished. That is a sensible approach. The battery side can be energized, PV voltage can be checked, and the grid or generator source can be introduced in the proper order without immediately placing household circuits on the output.
This is where I look for the basics: Is the inverter awake? Does it recognize the battery? Are the photovoltaic inputs showing the expected voltage? Is the grid or generator voltage present where it should be? Are there alarms or fault codes? You want those answers before a refrigerator, pump, air conditioner, or well system becomes part of the troubleshooting.
Choose the operating behavior before judging the results
The 12kPV supports grid-interactive and off-grid configurations, and EG4 provides working-mode guidance for choosing how solar, battery power, the grid, and loads should interact. That choice is not a minor preference. It determines whether the system is mainly protecting backup loads, reducing grid consumption, charging on a schedule, or operating independently of the utility.
For a Hawaii customer, I want the installer to confirm the applicable utility profile and system operating mode rather than assume a factory default is right. The inverter may be electrically healthy while still behaving incorrectly for the intended project if the mode, export decision, battery settings, or time schedule does not match the customer’s goals.
Use the monitoring screen as a commissioning tool
The EG4 monitoring guide gives you more than a pretty energy graph. It exposes live values for solar voltage and power, battery voltage and current, battery state of charge, grid voltage and frequency, load power, import, export, and fault information.
That makes the first sunny day much easier to understand. If the panels are producing power but the battery is not charging, the screen gives the installer a place to begin. If the load is higher than expected, the load reading can show that before the battery drops quickly. If export is not part of the plan, the import and export values help confirm the system is behaving as intended.
There is a helpful installation lesson from Country Living Experience that shows an EG4 12kPV installation and critical-load panel in real use. I would watch it for the overall relationship between the inverter, wiring, and backed-up loads—not as a replacement for the exact EG4 manual or a licensed electrical plan.
Only then make the loads depend on it
Once the battery, PV input, AC source, settings, monitoring, and protection checks make sense, the backed-up load panel can be energized and tested one group at a time. That lets you see how the 12kPV responds to normal household demand instead of guessing from a specification sheet.
This is one reason I see the EG4 12kPV as a strong fit for a Hawaii home or light commercial system that needs more than a simple solar inverter. It has room for a substantial array, battery storage, grid or generator support, remote monitoring, and future expansion through parallel units. But the value is not just in the feature list. The value is in making those features agree during commissioning.
If you’re considering the 12kPV, contact SolarMan and let’s match the inverter to your battery bank, solar layout, backup loads, and utility plan before equipment is ordered. A good first-day commissioning plan is part of the system—not an afterthought.